Prompt Writing
Photorealistic AI Image Prompts: 10 Examples That Look More Real
Learn how to write photorealistic AI image prompts with practical examples for portraits, products, food, architecture, travel, and realistic lighting.

In this guide
Photorealistic AI image prompts do not need a long pile of camera terms. They need a clear subject, a believable physical setting, lighting that explains the scene, and enough detail to make the result inspectable. Realism comes from relationships: how light falls across a surface, how an object sits in space, what is sharp, and what is allowed to remain imperfect.
If your first result looks synthetic, do not immediately add more adjectives. Identify the visible problem. Is the skin too smooth? Is a product floating? Are reflections inconsistent? Is the depth of field too dramatic? A short, specific correction usually teaches the generator more than a prompt full of “ultra-realistic” language.
This guide answers how to generate photorealistic images with AI through ten adaptable prompts and a practical review workflow. The examples can be used as creative starting points, not as a substitute for real photography when factual accuracy, documentation, consent, or regulated claims matter.
For general prompt structure, start with the free AI image generator guide. To explore more reusable visual directions, browse the prompt collection.
What makes an AI image look photorealistic?
Four prompt choices have an outsized effect:
- A specific subject in a specific place. “Ceramic cup on a scratched oak table” gives the image physical context. “Beautiful cup” does not.
- One coherent light source. Name the time, direction, softness, and practical source: north window, cloudy daylight, overcast sky, or a softbox from camera left.
- Material behavior. Matte paper, brushed aluminum, worn leather, translucent glass, and damp pavement all interact with light differently.
- A credible camera decision. State the crop and perspective before adding lens language. Eye-level portrait, top-down flat lay, low three-quarter product view, or wide environmental scene is usually enough.
The image also needs room for ordinary variation. Natural skin has texture. A room has subtle shadow. A street has uneven surfaces. Ask for believable detail and restrained retouching rather than perfection.
A simple photorealistic prompt formula
Use this order when writing a first prompt:
[Subject] in [place or surface], [action or pose], lit by [source and direction], showing [material or physical detail], [camera perspective and crop], [realistic finish], with [one or two things to avoid].
For example: “A navy travel backpack on a weathered stone bench, three-quarter view, soft overcast daylight from above, visible woven fabric and brushed metal hardware, eye-level 3:2 product crop, realistic editorial photography, no text or invented features.” The prompt has a subject, a surface, lighting, materials, camera choice, and guardrails.
10 photorealistic AI image prompts
1. Natural-light editorial portrait
Chest-up editorial portrait of a product designer in a quiet studio, relaxed direct gaze, simple charcoal shirt, north-window daylight from camera left, gentle shadow on the far cheek, natural skin texture and loose hair detail, pale concrete wall softly out of focus, eye-level camera, vertical 4:5 crop, believable magazine photography, restrained retouching.
The useful detail is not “8K.” It is the direction of the window light, the camera position, and the instruction to preserve natural skin texture.
2. Weathered product on a real surface
Use the reference [product] as the visual source and preserve its visible shape, color, and construction. Photograph it on a lightly scratched oak tabletop near a large window, soft morning light from the right, realistic contact shadow, close three-quarter camera view, visible [fabric / metal / glass] texture, clean 3:2 ecommerce editorial crop. Do not add features, logos, accessories, or text not present in the reference.
For commercial imagery, always compare the output with an approved product reference. A realistic result can still depict an inaccurate item.
3. Restaurant table scene
A small bowl of handmade ramen on a dark wood restaurant table, steam rising subtly, warm pendant light above mixed with cooler window light from the side, ceramic glaze with tiny imperfections, chopsticks resting naturally beside the bowl, shallow but believable depth of field, eye-level 3:2 food photography, realistic color and texture, no text or exaggerated ingredients.
Mixing warm and cool light can feel real when it has a clear source. Keep the food arrangement simple enough that it could physically exist.
4. Rainy city street at dusk
Street-level photograph of a cyclist waiting at a crosswalk in light rain at blue hour, damp asphalt reflecting nearby storefront light, ordinary city buildings and traffic softly receding, waterproof jacket with visible fabric texture, soft drizzle, natural motion in the background, 35mm-style eye-level framing, horizontal 16:9 crop, realistic documentary photography.
Name the wet surfaces and reflected light so the atmosphere has physical logic. Avoid stacking unrelated weather conditions into one scene.
5. Sunlit interior architecture
Quiet modern living room photographed from a standing eye-level viewpoint, late-afternoon sunlight passing through linen curtains, warm light and soft long shadows across an oak floor, matte plaster walls, woven chair, a few lived-in objects placed naturally, wide 16:9 interior photograph, straight vertical lines, believable exposure, no distorted furniture or unreadable wall text.
Architecture benefits from an instruction about straight lines and camera height. These reduce the extreme perspective that often makes rooms feel artificial.
6. Handcrafted object detail
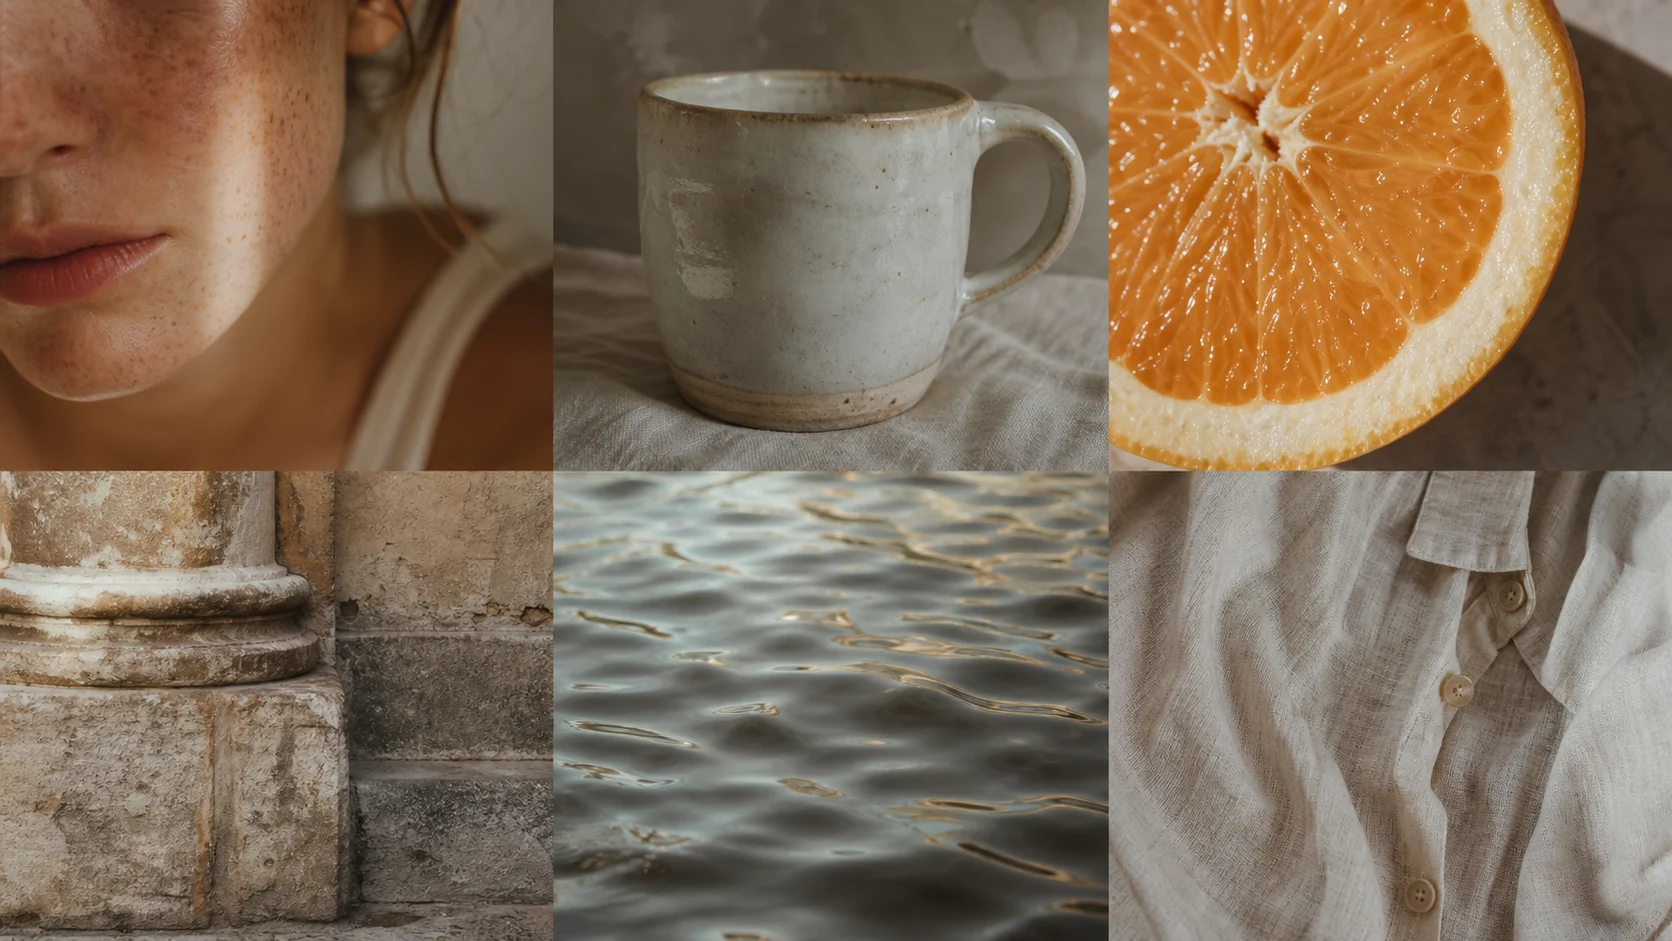
Close editorial photograph of a handmade ceramic mug on a linen cloth, visible speckled glaze, slight rim irregularity, soft window light from behind and left, small realistic shadow, neutral background, 50mm-style close crop, tactile material detail, calm handmade-product photography. Do not make the glaze perfectly smooth or add decorative lettering.
Material detail tells the image what to keep imperfect. That makes a handmade object more credible than a glossy, flawless rendering.
7. Outdoor travel landscape
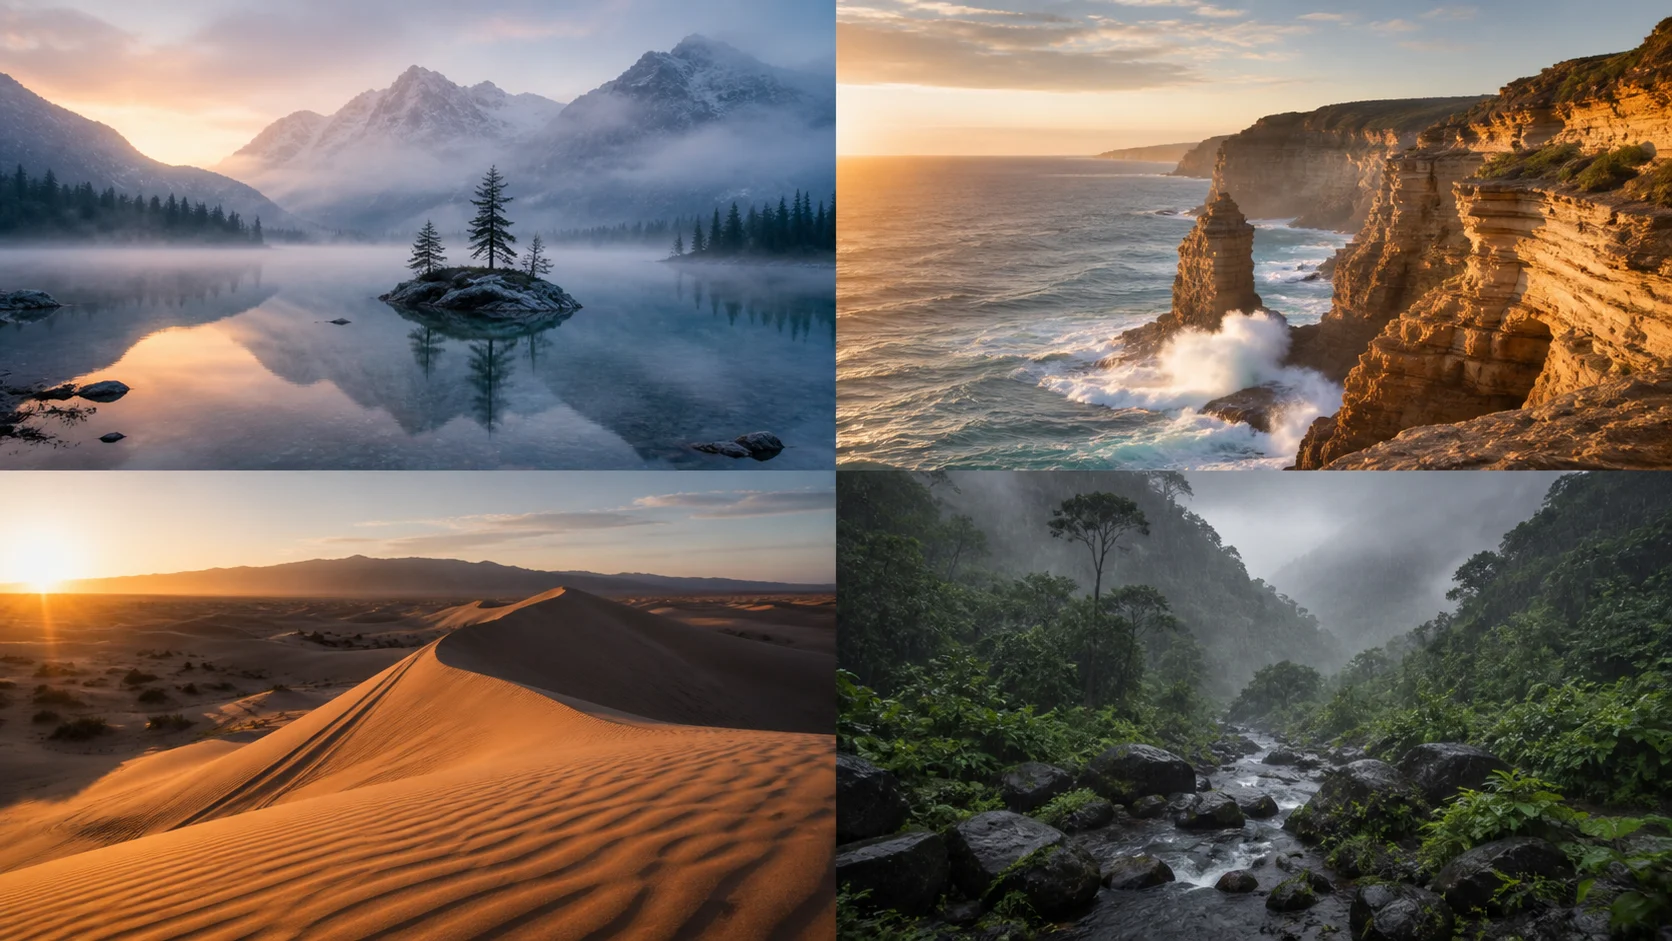
A lone hiker on a winding trail through a highland valley just after sunrise, soft low sunlight touching grass and distant peaks, lingering mist in the lower valley, damp stone texture in the foreground, natural scale with the person small in frame, wide 16:9 landscape photograph, realistic atmospheric depth, no impossible colors or fantasy structures.
Landscape realism improves when foreground, middle distance, and background have different degrees of contrast and detail.
8. Professional workspace still life
Documentary-style desk still life in a real creative studio: a sketchbook, mechanical pencil, ceramic cup, and closed laptop arranged with slight everyday disorder, overcast window light from the left, subtle shadows, matte paper and brushed metal textures, top-down but slightly angled camera view, 4:5 crop, neutral color, believable working environment. No visible brand marks or generated text.
The phrase “slight everyday disorder” can prevent a scene from looking like a showroom. Keep the item count low so the layout remains readable.
9. Fashion detail in soft daylight
Street-style photograph of a person wearing a structured [navy wool coat] on an overcast city morning, waist-up three-quarter pose, soft ambient daylight, visible fabric weave and natural folds, neutral building façade softly blurred behind, realistic skin and hair texture, vertical 4:5 editorial crop, restrained color grading, no distorted hands or invented garment details.
Ask for the material behavior you need to inspect: weave, folds, stitching, hardware, or drape. The review should still compare the result with the actual garment.
10. Consumer device in controlled light
Use the reference [device] accurately. Create a close product photograph on a warm gray studio surface, soft key light from camera left and a faint rim light defining the edge, realistic matte [aluminum / plastic] surface, crisp focus on the real buttons and ports, controlled shallow depth of field, 3:2 crop, high-end but believable technology photography. Do not add screens, interfaces, specifications, or capabilities not shown in the reference.
This is a good case for multiple references. One image can show the overall form while another verifies controls and material.
Correcting the most common artificial results
Skin that looks too smooth
Ask for natural skin texture, restrained retouching, soft directional light, and a realistic age range. Remove words such as “perfect,” “flawless,” or “glowing” when they are pushing the output toward plastic skin.
A product that looks invented
Use an approved reference, state the details that must remain, and explicitly say not to add features, logos, or accessories. If accuracy is essential, use the generated result only as an art-direction comp until real photography can be made.
Impossible shadows and reflections
Simplify the lighting. Name one key source and a supporting fill only when needed. A product sitting on a surface should have a believable contact shadow; glass or metal should reflect the environment in a way that matches the camera view.
Overdone background blur
Ask for a “subtle” or “believable” depth of field and name what should remain sharp. An extreme blur may hide structural errors but often makes a normal scene look staged.
Too many camera keywords
Start with perspective and crop. Add one camera or lens cue only if it changes the result. A list of technical jargon does not replace a clear subject and light source.
A realistic review workflow
Generate a small set of variations from the same short prompt. Select the image with the strongest physical logic, then make one correction at a time. Keep a record of the source reference, prompt, output, and approval decision. This matters for a product team because a visually impressive image may still fail an accuracy or legal review.
For portrait work, the AI headshot prompts guide has more detail on crop, reference images, and natural-looking faces. When you are ready to test a brief, open Imagine with this photorealistic workflow.

FAQ
What words make an AI image look photorealistic?
Use words that describe a real scene: light source and direction, material texture, perspective, crop, and physical setting. “Natural skin texture,” “soft window light,” and “realistic contact shadow” are more useful than repeatedly saying “photorealistic.”
Can AI create photorealistic product images?
It can create realistic-looking product scenes, but it can also change visible details. Use an approved reference image, review the result against the real product, and do not publish invented features or claims.
Why do hands and small details sometimes look wrong?
Small structures, reflections, text, and repeated patterns are hard visual details. Simplify the pose or crop, generate additional variations, and inspect the result at the size customers will see.
Should I use a reference image for photorealistic prompts?
Use one when identity, a real product, a specific place, or a particular composition must be preserved. Make sure you have permission to use the reference and describe what should stay accurate.
Is photorealistic AI imagery suitable for every use?
No. Real photography, documentation, and disclosure may be required when an image is expected to prove a fact, show an actual person, represent a regulated product, or report an event.
Put the workflow into practice
Create a focused first image
Start with included credits, keep the prompt and references together, and refine the result in your private Imagine workspace.
Open Imagine